Solar Street Light Price: What Decides the Cost of an AI IoT System
novembre 19, 2026
 Werise Engineering Team
“We need solar flood lights—1,000 lumens each.” That sentence is common in enquiries. It is also where our questions start. On one recent sketch, the same light was expected to cover a six-metre gate, help a camera read plates and spill into a loading space behind the gate. One number had been chosen for three jobs. For an industrial-zone site, that means proving industrial zone solar flood light high brightness where it matters — at gates, loading areas and camera views — rather than at a single point under the fitting.
Lumens matter, but they stop at total visible output. The drawing still has to show where the beam lands and who needs to see what. It covers the output number, the light arriving at the surface, beam spread, mounting height and site conditions. The aim is a workable proposal: a specified area, a mounting height, an environment and an operating duty that can be checked on site.
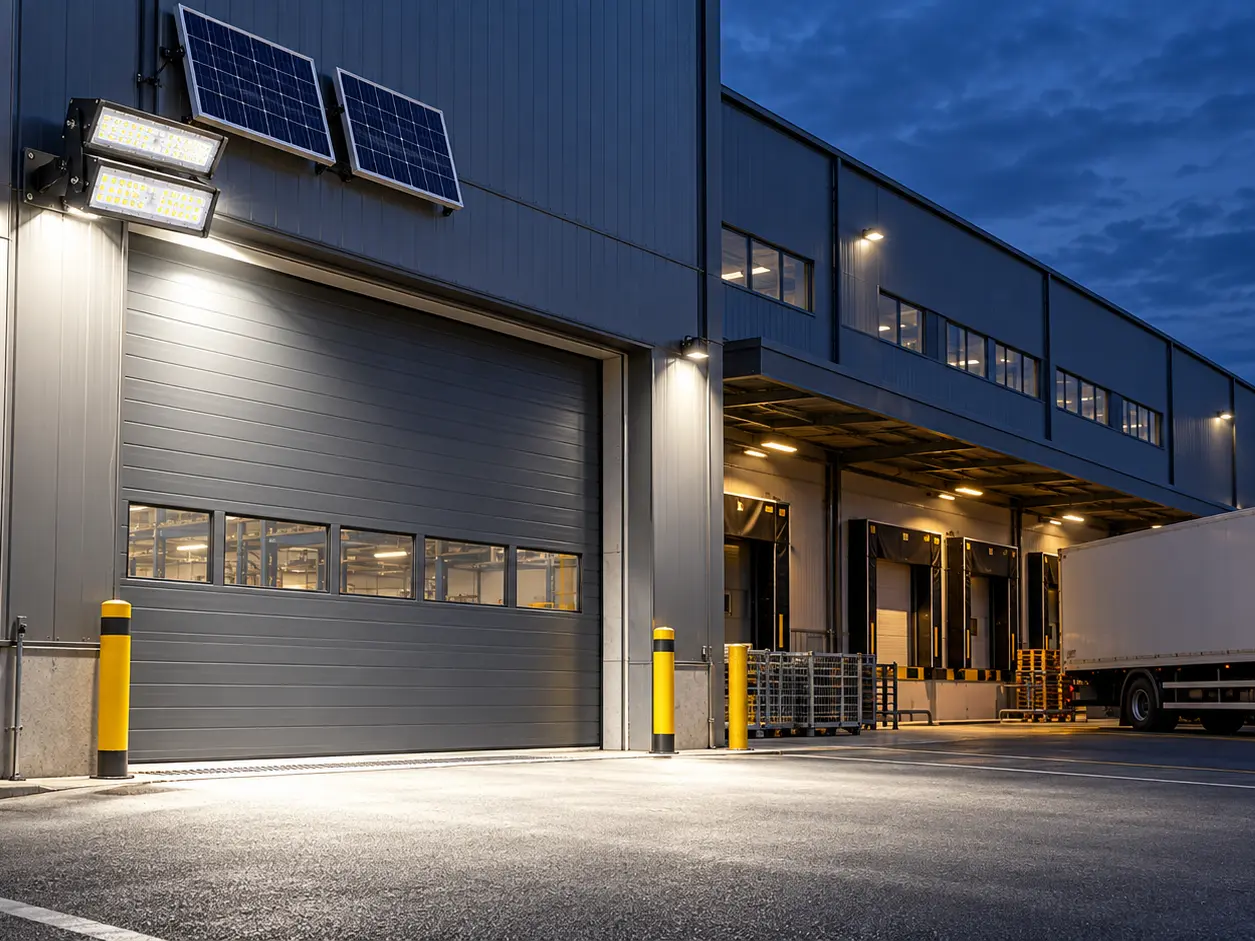
Short answer: there is no single lumen number for a solar flood light. The right brightness depends on the task, the area, the lux required on the work surface, the beam spread, and the mounting height — not on the lamp alone. Start with the task and the lux at the work surface, then check the fitting against a measured layout.
Sunset is the right time for a walk round. If nobody from the buying team can be there, a slow video walkthrough is a useful substitute. It should cover the route, not just the proposed fitting positions. That video still has to show how the area is used, the approach directions, and the features that need to be visible.
Put the details and approach direction on the plan. A worker facing the lamp sees a different scene from a driver looking past it. The approach direction, the positions of columns, handrails, doors, cameras, signs and steps, and the position of edges and slopes are the useful parts of the walk-through.
The walk-through may point to a moved bracket, two smaller zones or an aim below the driver’s sight line. They are design choices, not a reason to raise the lumen figure. That is the first filter: the work starts from use and contract, rather than from output on its own.
When Werise reviews an enquiry, the lumen entry sits beside the drawing, bracket height, available sun, night schedule and operating duty. That is because brightness only means something once the light has a job, a place and hours to cover. Output offered without those details is not the same as coverage.
Lumen and lux sound like cousins, and they often get swapped in early emails. In the NIST definition, a lumen measures the total visible output from a light source. A lux is the illuminance, or the light arriving at a point on the illuminated surface. Once a source at a point is known, the amount of light that arrives falls as the point moves away from the source. A brighter fixture standing at the location returns to the placement and the data at that point.
Take a 20 m² box on a sketch and write 1,000 ÷ 20 in the margin. For the result to hold, all the light must land within that box and spread perfectly evenly. In the yard, light lands on the plate, the gate edge, and the fence. The box test exposes a shortcut in plain time, so the check points should sit at the far end, beside the gate and beside the loading area. The result is then read at the marked points, not in a headline figure.
Compare lumens within a confirmed configuration, then use calculations or readings at the marked points to check what arrives. The two numbers hold different jobs. The first shortlists what to consider and the second checks what arrives in the yard. That separation is why arguments by output alone rarely settle.
The phrase solar flood lights 1000 lumens is fine for building a shortlist. It shouldn’t become an area guarantee; the site hasn’t entered the calculation yet. A shortlist figure and a guarantee sit apart. In the yard, we measure reality at the marked points.
No CAD file? A legible hand sketch with measurements will do for the first pass. Circle the ground to be lit, mark the route, the gate, the steps and the kerb edge, then add the intended mounting points and heights. That turns a sentence into a checkable plan that other people can follow.
Choose check points near the fitting, at the far end and beside critical features. A gate sketch might place marks at the hinge, the centre line, and the loading area behind the gate. Each mark makes the next question concrete—what should be seen there? Both practical points and the intended minimum matter to the design.
Shape matters here. Thirty square metres arranged as a long drive isn’t the same lighting problem as thirty square metres in a square yard. How far the light can travel, how it spreads, what it must illuminate and what it must not are governed by the shape. The sketch exposes that difference and probably requires segmentation into multiple patches.
Le AI IoT solar flood light range is a sensible place to shortlist products. The plan is what turns that shortlist into a project choice.

Move the fitting up and the throw, bracket, service access and glare view all change. Bring it down and the bright patch shrinks. Both lamps, the height and the mounting stay in the drawing. A height also needs to be listed in an enquiry because it shapes the lighting result. A tall light creates a different result than a low light, and the drawing should show which one it is.
Beam spread changes the picture again. A tight optic piles more of the output into a smaller direction, while a broad spread evens the light over a larger area. Both spreads can have the same output and still produce different results. A fixture, an aiming point, and a mounting height together decide where the bright patch sits.
Tilt is sometimes treated as a final installation detail. It deserves to be on the design sketch. Even a small nudge can pull the bright patch off a ramp, flare into a camera or carry it across the boundary. The US Department of Energy makes much the same caution in its outdoor-area guidance. Distribution and glare sit alongside illuminance; an average on the paving can overlook poor visibility.
Run the photometric file or relevant test data at the proposed height and aim. For an odd yard or site shape, a short test reading at the check points is enough to confirm it. A file can be used to check the shape of the spread, but the live reading on the ground decides the brighter patch.
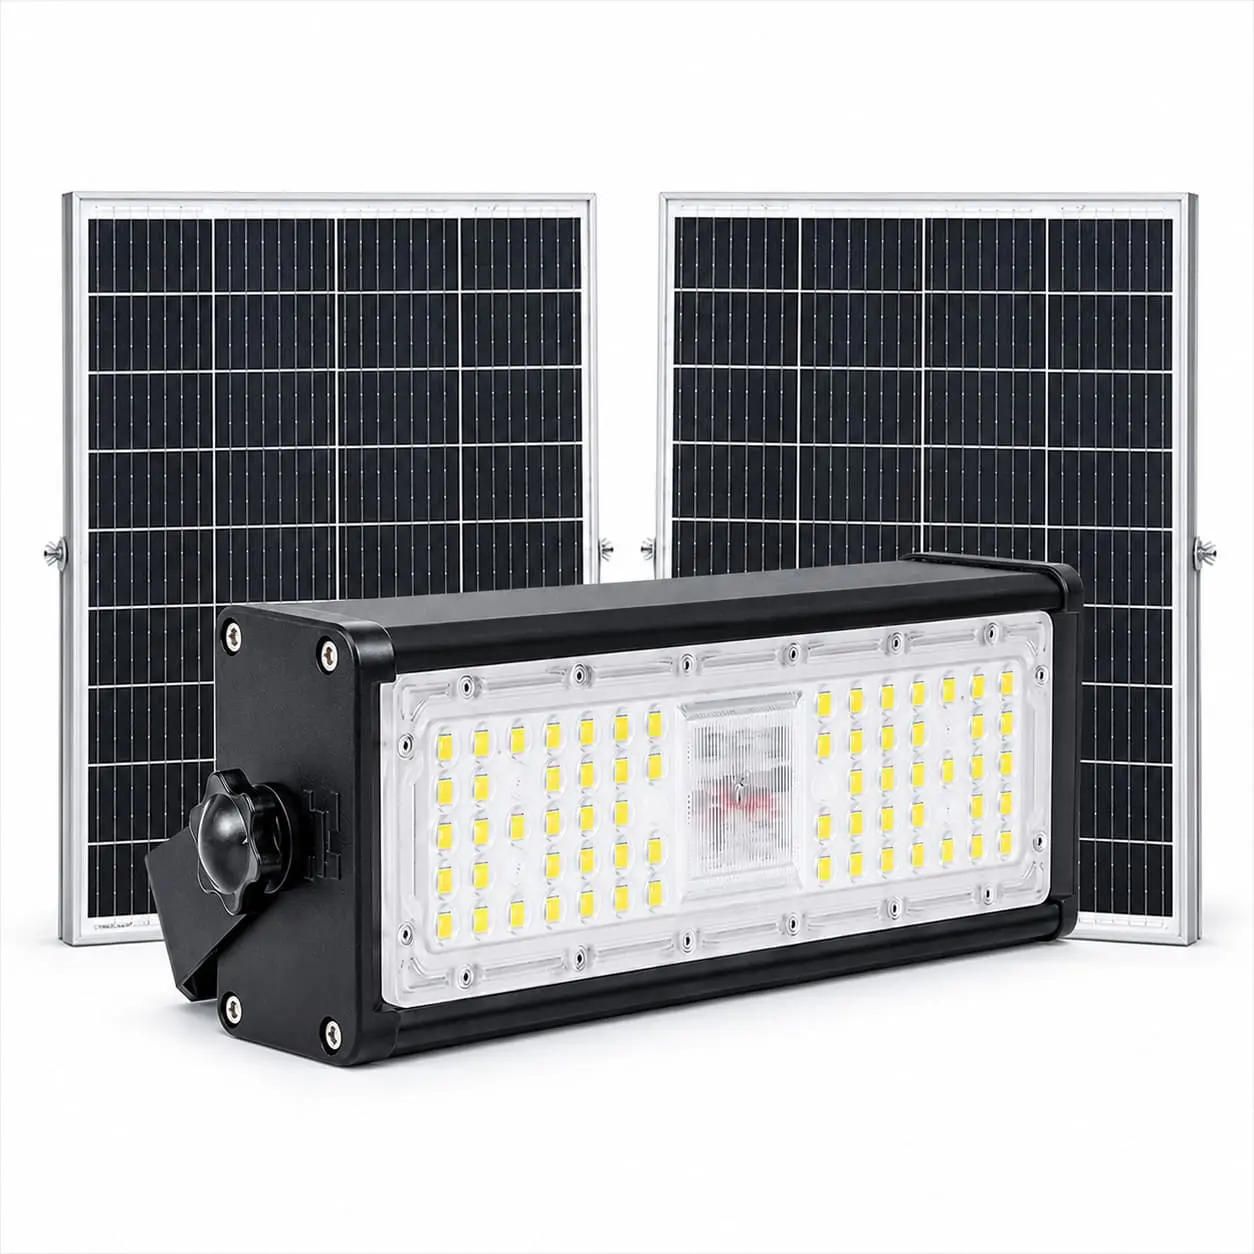
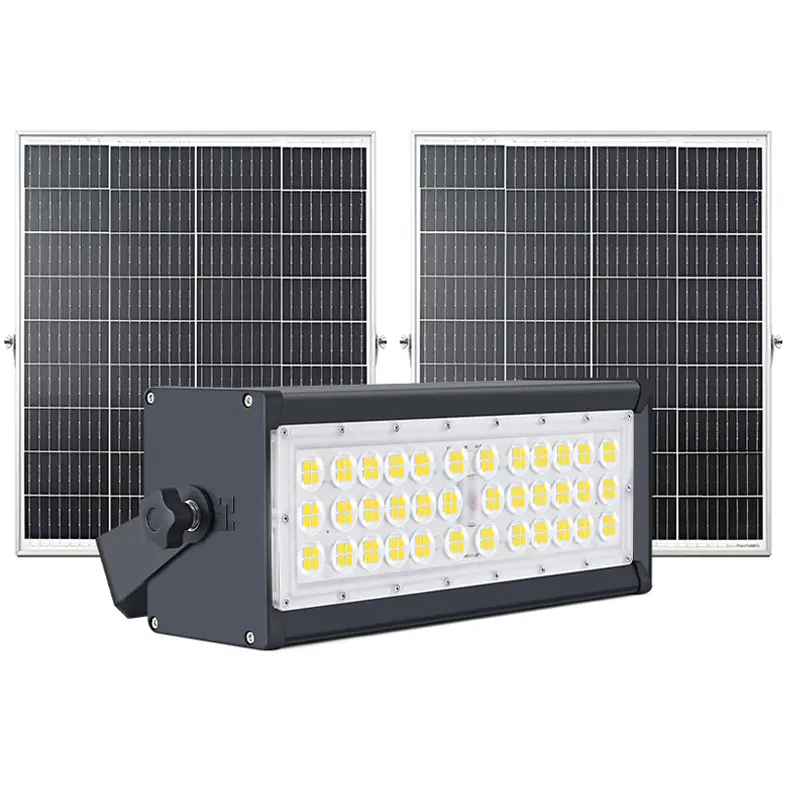
The HC-WT2-A50W offers multiple adjustable brightness levels — for example 1,000, 1,600 and 1,900 lm in dimmed/energy-saving mode — configurable to customer requirements. Actual brightness also varies with battery charge level. The maximum output is 9,000–10,500 lm (50W at 180–210 lm/W). Beside the dimmed-mode figures, the source record lists a mounting height of 3 m, a beam angle of 80° × 90° and an illuminated area of 15–20 m². They are the source record’s figures, not a recommendation for a live area.
Those figures must travel together. Read that row as one model-source example. It does not mean an unchecked area assumption. The reader should not take a single lumen figure away from the rest of the row, because fleet output is not area coverage.
Le HC-WT2-A50W product page gives the product context, while the approved quotation identifies the configuration offered for the customer’s plan. A single figure should not be quoted alone.
The same approach appears in our Malaysia industrial-zone solar floodlight case. The project input request includes dimensions, installation height, required lighting area, operating hours and local conditions. The same case shows how a buyer can test assumptions. No single number is used alone; only the whole row defines the model-source example.
Put the sample on its intended bracket, at its intended height. A chest-height demo is quick and cheap; it hides the glare, the spread and the shadows that arrive with the real mounting. Photometric checks still help, but a test at the built height avoids unpleasant surprises.
Close to the pole, turn toward the lamp: is the source uncomfortable, or is there a hard pool at your feet and darkness beyond it? Walk to the far end, check where the bright patch stops, then look for the view from the operator’s position. That can be the difference between a model that passes a spreadsheet and one that works on the ground. We measure the light with a meter at the marked points, not at convenience. A lux meter at the marked points is recommended to measure the light reaching the ground and report the lux level.
The test note can be scruffy; it still needs the configuration, height, tilt, mode, time and weather. Return the meter to the same marks for each illuminance trial. Photos compare trials, but a phone’s auto-exposure is no substitute for the meter.

A compact enquiry can carry a measured plan, mounting dots and heights, obstruction photos, and labels for what people need to see. Add nightly hours, control choice, local sun, market, quantity and the exact tender wording for illuminance or glare. That makes the proposal checkable and removes most of the guesswork from the first reply.
Already locked to 1,000 lm? Tell us what locked it. It may come from a tender line, a replacement commitment, or a product expectation that can still be tested on the yard. Upgrades stay plausible. The usual outcome is that the same number survives, but the rest of the proposal gets checked properly.
Send those details through the page de contact Werise. We can check output, distribution, mounting, solar configuration and operating duty together. The first answer is far better than a catalogue line.
Related reading: for shorter days and cloudy weather, see Solar Flood Lights in Winter: How to Plan for Shorter Days and Cloudy Weather; for sensor-triggered control and dimming, see Détecteurs de mouvement, variation d'intensité et économies d'énergie : les fonctions intelligentes des projecteurs solaires Tuya; and for the platform behind app control and scheduling, see A Beginner’s Guide to Smart Solar Flood Lights Powered by Tuya Platform.
There is no single lumen number that suits every site. As this guide explains, one number was once chosen for three different jobs — a six-metre gate, a camera reading plates and a loading space — and that is where the questions start. Choose the output by task, coverage, beam spread, mounting height and readings at marked points, and do not turn a shortlist figure such as “solar flood lights 1000 lumens” into an area guarantee. Confirm before ordering: the HC-WT2-A50W product page lists lamp luminous flux of 9,000–10,500 lm, a beam angle of 80° × 90°, a 3 m mounting height and a 15–20 m² lighting area, so ask for the quoted configuration in writing.
Lumens measure the total visible output from a light source; lux is the illuminance, the light arriving at a point on the illuminated surface, and it falls as the point moves away from the source. Compare lumens
only within a confirmed configuration, then check what arrives with calculations or lux-meter readings at the marked points.
| Lumens | Lux | |
| What it measures | Total light output of a fitting | Light arriving at a surface |
| What it answers | How much light the fitting produces | How bright the task surface is |
| Why it matters | A high-lumen fitting can still leave a surface dark if the beam is too wide or the mount too high | The required lux at the task surface decides the design, not the catalogue lumen figure |
Moving the fitting up changes the throw, bracket, service access and glare view; bringing it down shrinks the bright patch. Keep the mounting height on the design sketch and test at the intended height. For reference, the HC-WT2-A50W product page lists a 3 m mounting height and a 15–20 m² lighting area for that model — confirm before ordering that the quoted configuration matches.
A tight optic piles more of the output into a smaller direction, while a broad spread evens the light over a larger area; both can have the same output and still produce different results. Tilt matters too: even a small nudge can pull the bright patch off a ramp, flare into a camera or carry it across the boundary.
Put the sample on its intended bracket, at its intended height — not at chest height. Walk to the far end, check where the bright patch stops, and measure with a lux meter at the same marked points for each trial, recording the configuration, height, tilt, mode, time and weather.
Often not. Realistic residential security flood lights are 1,000–2,500 lumens (1,000 lumens spread over 1,000 sq ft gives only about 11 lux — enough to mark a path, far too dim for security lighting). Marketplace listings claiming 65,000–240,000 lumens for $30–80 lights are not credible — the same listing often contradicts itself, for example a “65,000 lumens” headline against 25,000 lm in the spec table. Treat inflated lumen claims as the number-one red flag. Verify panel watts, battery capacity and lm/W instead of the headline number.